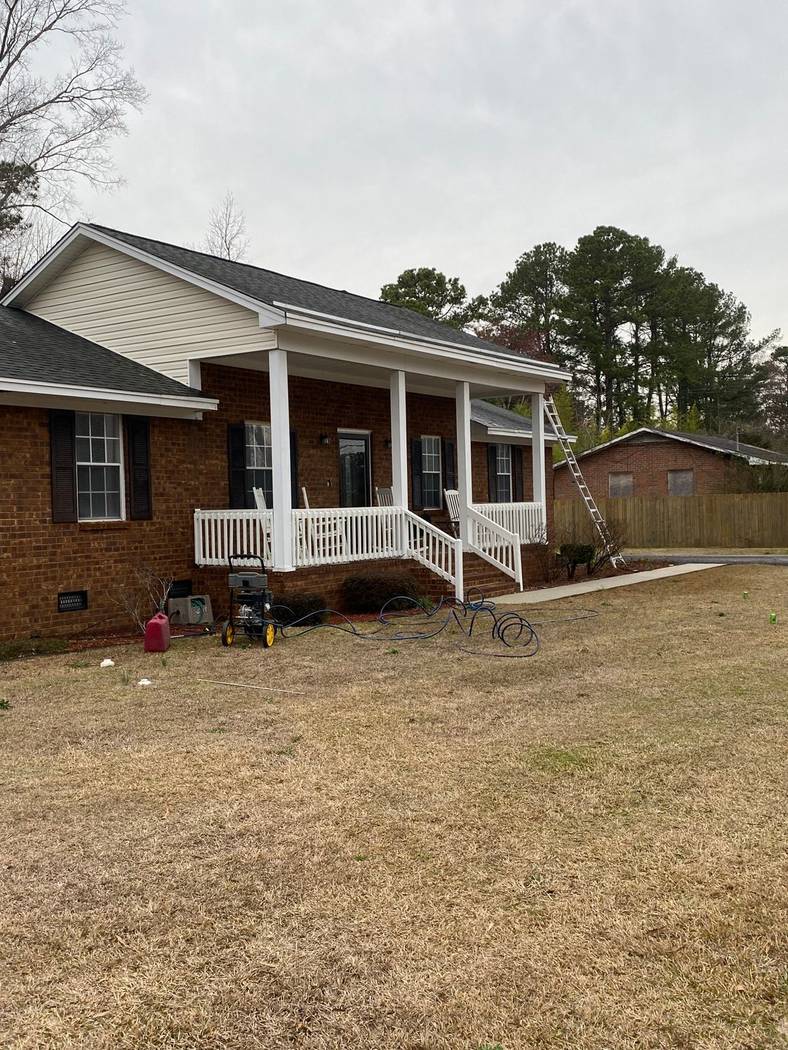
Why Fall Is the Right Time to Handyman Weatherproof Exterior Door Frames in Lamar, SC
Hiring a handyman to weatherproof exterior door frames in Lamar, SC before temperatures drop is one of the most practical fall maintenance calls a homeowner can make. Here in Lamar, summer runs long and hot. Wood door frames spend months absorbing heat and humidity, swelling slightly with the season. Then September and October arrive, temperatures drop, the wood contracts, and gaps that were invisible in July show up as visible cracks along the casing, at the threshold, and between the frame and the siding. That contraction is normal. What is not fine is leaving those gaps open through winter.
Cold air gets in, of course. But moisture is the bigger problem. When warm indoor air meets a cold gap in the frame, condensation can form inside the wall cavity. Over time that leads to rot, mold, and insulation that stops doing its job. Catching the gaps in fall, before the first cold front, gives you the best shot at accurate repairs because the wood is near its winter dimension and the gaps are at or close to their widest point.
#What Does Wood Movement Actually Do to a Door Frame Over the Year?
Wood moves with moisture content, and moisture content follows the weather. According to the USDA Forest Products Laboratory, wood can change dimension meaningfully across a full seasonal cycle, with the amount depending on species, grain orientation, and whether the wood was properly sealed to begin with. A door frame that was painted or caulked years ago may have lost flexibility in the sealant even if the wood itself is still solid.
What this looks like in practice is a caulk line that was tight last spring and now shows a thin crack along the top of the casing, or a gap at the corner where the head jamb meets the side jamb. The paint may bridge the gap and hide it until you press on it, at which point it flexes. These are not structural failures. They are normal wear, and they are exactly what a handyman handles before they become something bigger.
| Caulk Type | Best Use on Door Frames | Flexibility After Cure | Paintable |
|---|---|---|---|
| Siliconized acrylic latex | Frame-to-siding joint, top and side casings | Good, handles moderate seasonal movement | Yes |
| 100% silicone | Threshold-to-sill joint, areas with direct water exposure | Excellent, stays flexible long-term | No (clear or color-matched only) |
| Polyurethane | Larger gaps, wood-to-masonry transitions | Very good, bonds strongly and stays pliable | Yes, but requires sanding first |
| Basic acrylic latex | Interior side only, very small gaps | Poor, shrinks and cracks with movement | Yes |
#How Does a Handyman Actually Weatherproof an Exterior Door Frame?
The process starts with a thorough inspection before anyone opens a tube of caulk. A good handyman runs a hand along every joint: where the casing meets the siding, where the casing meets the door jamb, where the threshold meets the sill, and at all four corners of the frame assembly. Any joint that flexes, shows daylight, or has old caulk that crumbles when pressed gets cleaned out before new material goes in.
Cleaning the joint matters. Old caulk left in place becomes a separation layer that prevents the new bead from bonding. A utility knife and a stiff brush handle most of it. On wider gaps, anything beyond about a quarter inch, a handyman will press backer rod into the joint first. Backer rod is a foam cord that fills the depth of the gap so the caulk has a proper backing surface to bond against on two sides rather than three. A caulk joint that bonds on three sides cannot flex the way the wood needs to flex, and it tears faster as a result.
The surface decides the method. A tight hairline crack in painted wood casing gets a paintable acrylic-latex caulk. A wide gap at the threshold that sits in a puddle after every rain gets silicone. Using the same product everywhere is a common shortcut that leads to re-doing the work in a season or two.
#Are There Trim Repairs That Go Beyond Caulking?
Yes, and fall is the time to catch them before freeze-thaw cycles make them worse. If a section of casing has started to rot at the bottom, a spot that stayed wet through summer, caulk over it is not a fix. It is a cover. A handyman can cut out the damaged section and splice in new trim, prime all four edges of the new piece, and then caulk the joints once everything is dry.
Corner joints where two pieces of casing meet are another common failure point. Wood movement opens miter joints over years, and once water gets into an open miter, the end grain of both pieces begins to absorb moisture and swell unevenly. The fix is to clean the joint, let it dry completely, apply a waterproof wood glue, close the joint with a finish nail, and caulk the face. If the corner has already started to rot, the affected piece gets replaced.
- Check all four sides of the frame, not just the one you noticed
- Press along caulk lines to feel for hidden gaps under bridged paint
- Look at the bottom of the side casings where they meet the sill or stoop, this is where rot starts first
- Check the threshold seal: a worn door sweep combined with a failed threshold-to-sill joint is a significant draft and moisture pathway
#How Does Weatherproofing the Door Frame Connect to Exterior Painting?
Washing is the prep step for painting, and sealing is the step between washing and paint. If you are planning to repaint exterior trim before winter, the order matters. Pressure washing removes dirt, chalk, and loose paint. Then the frame dries completely. Then caulk and trim repairs go in, with all new material primed. Then paint. Skipping the sealing step and painting over open gaps means the paint film bridges the joint, cracks at the joint line within a season, and water follows the crack right back to the wood.
If a customer in Lamar, SC needs the exterior washed, the trim sealed, and then painted before cold weather arrives, that is one project handled by one crew rather than three separate contractors trying to coordinate schedules.
Give fresh caulk adequate cure time before painting over it. Most paintable caulks need at least a few hours, and some need longer depending on temperature and humidity. Painting too soon traps moisture and causes the paint to bubble over the joint, the same failure mode you were trying to prevent.
#What Can a Homeowner Check Before Calling Anyone?
A quick self-inspection takes about ten minutes and can tell you whether what you have is a minor touch-up or something that needs professional hands. On a cool morning, hold your hand near the top and sides of each exterior door frame from inside the house. You should not feel moving air. If you do, there is a gap worth addressing. From outside, look at every c